You know what I love? When someone takes a complex problem and solves it with elegant simplicity. Robert, N6MRO, did exactly that with his four-band ham-stick dipole design, and I have to share this because it’s just good engineering.
The Problem Space
Multi-band antennas always present interesting challenges. You want one physical antenna that works efficiently on multiple bands, but each frequency has different requirements. Most solutions involve traps, loading coils, or complex matching networks. Robert went a different direction, and when I saw his build photos, I immediately thought: “Now that’s how you solve a problem.”
The Heart of the System: The Mix 31 Toroid

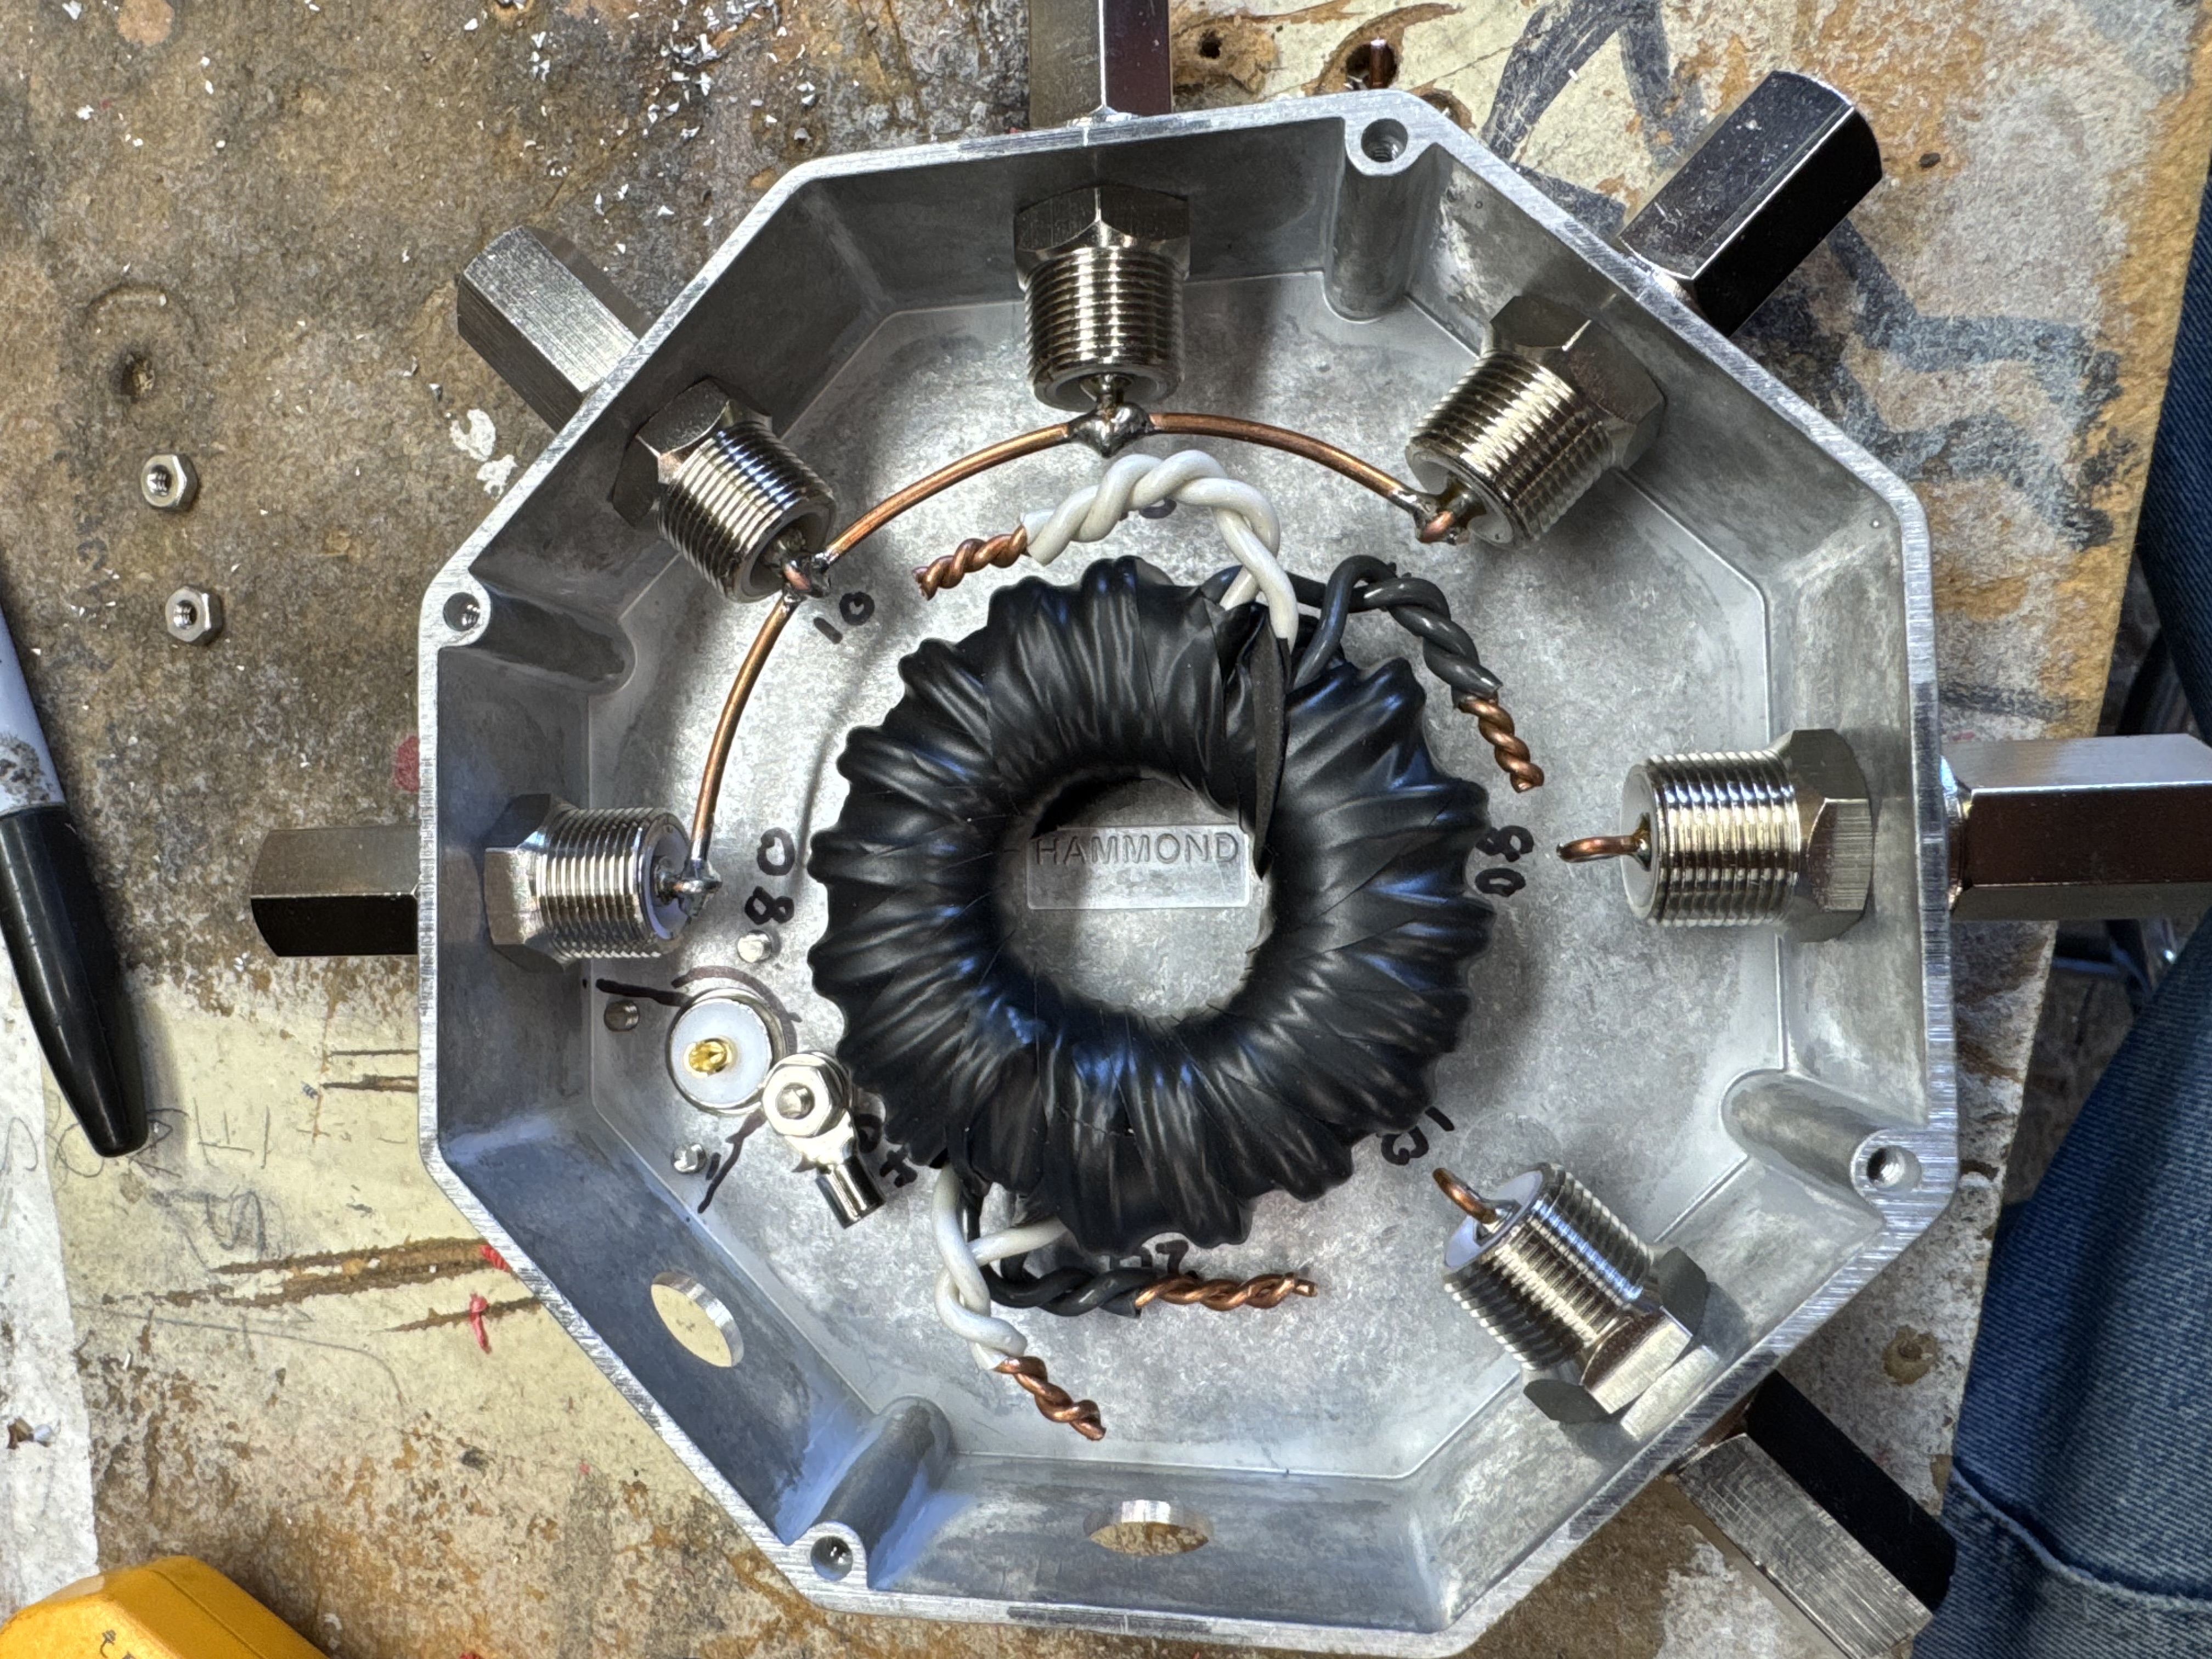
Let’s start with what makes this design clever. At the center is a Mix 31 ferrite toroid with multiple windings. If you look closely at this photo, you can see the black and white striped conductors carefully wound around the core. Mix 31 ferrite is specifically chosen for HF applications - it provides excellent common-mode suppression across the 10, 20, 40, and 80 meter bands.
Each set of windings connects to a different band’s dipole elements. The toroid acts as both a common-mode choke (keeping RF on the antenna where it belongs) and provides the proper impedance transformation for each band. It’s doing multiple jobs at once - that’s efficiency.
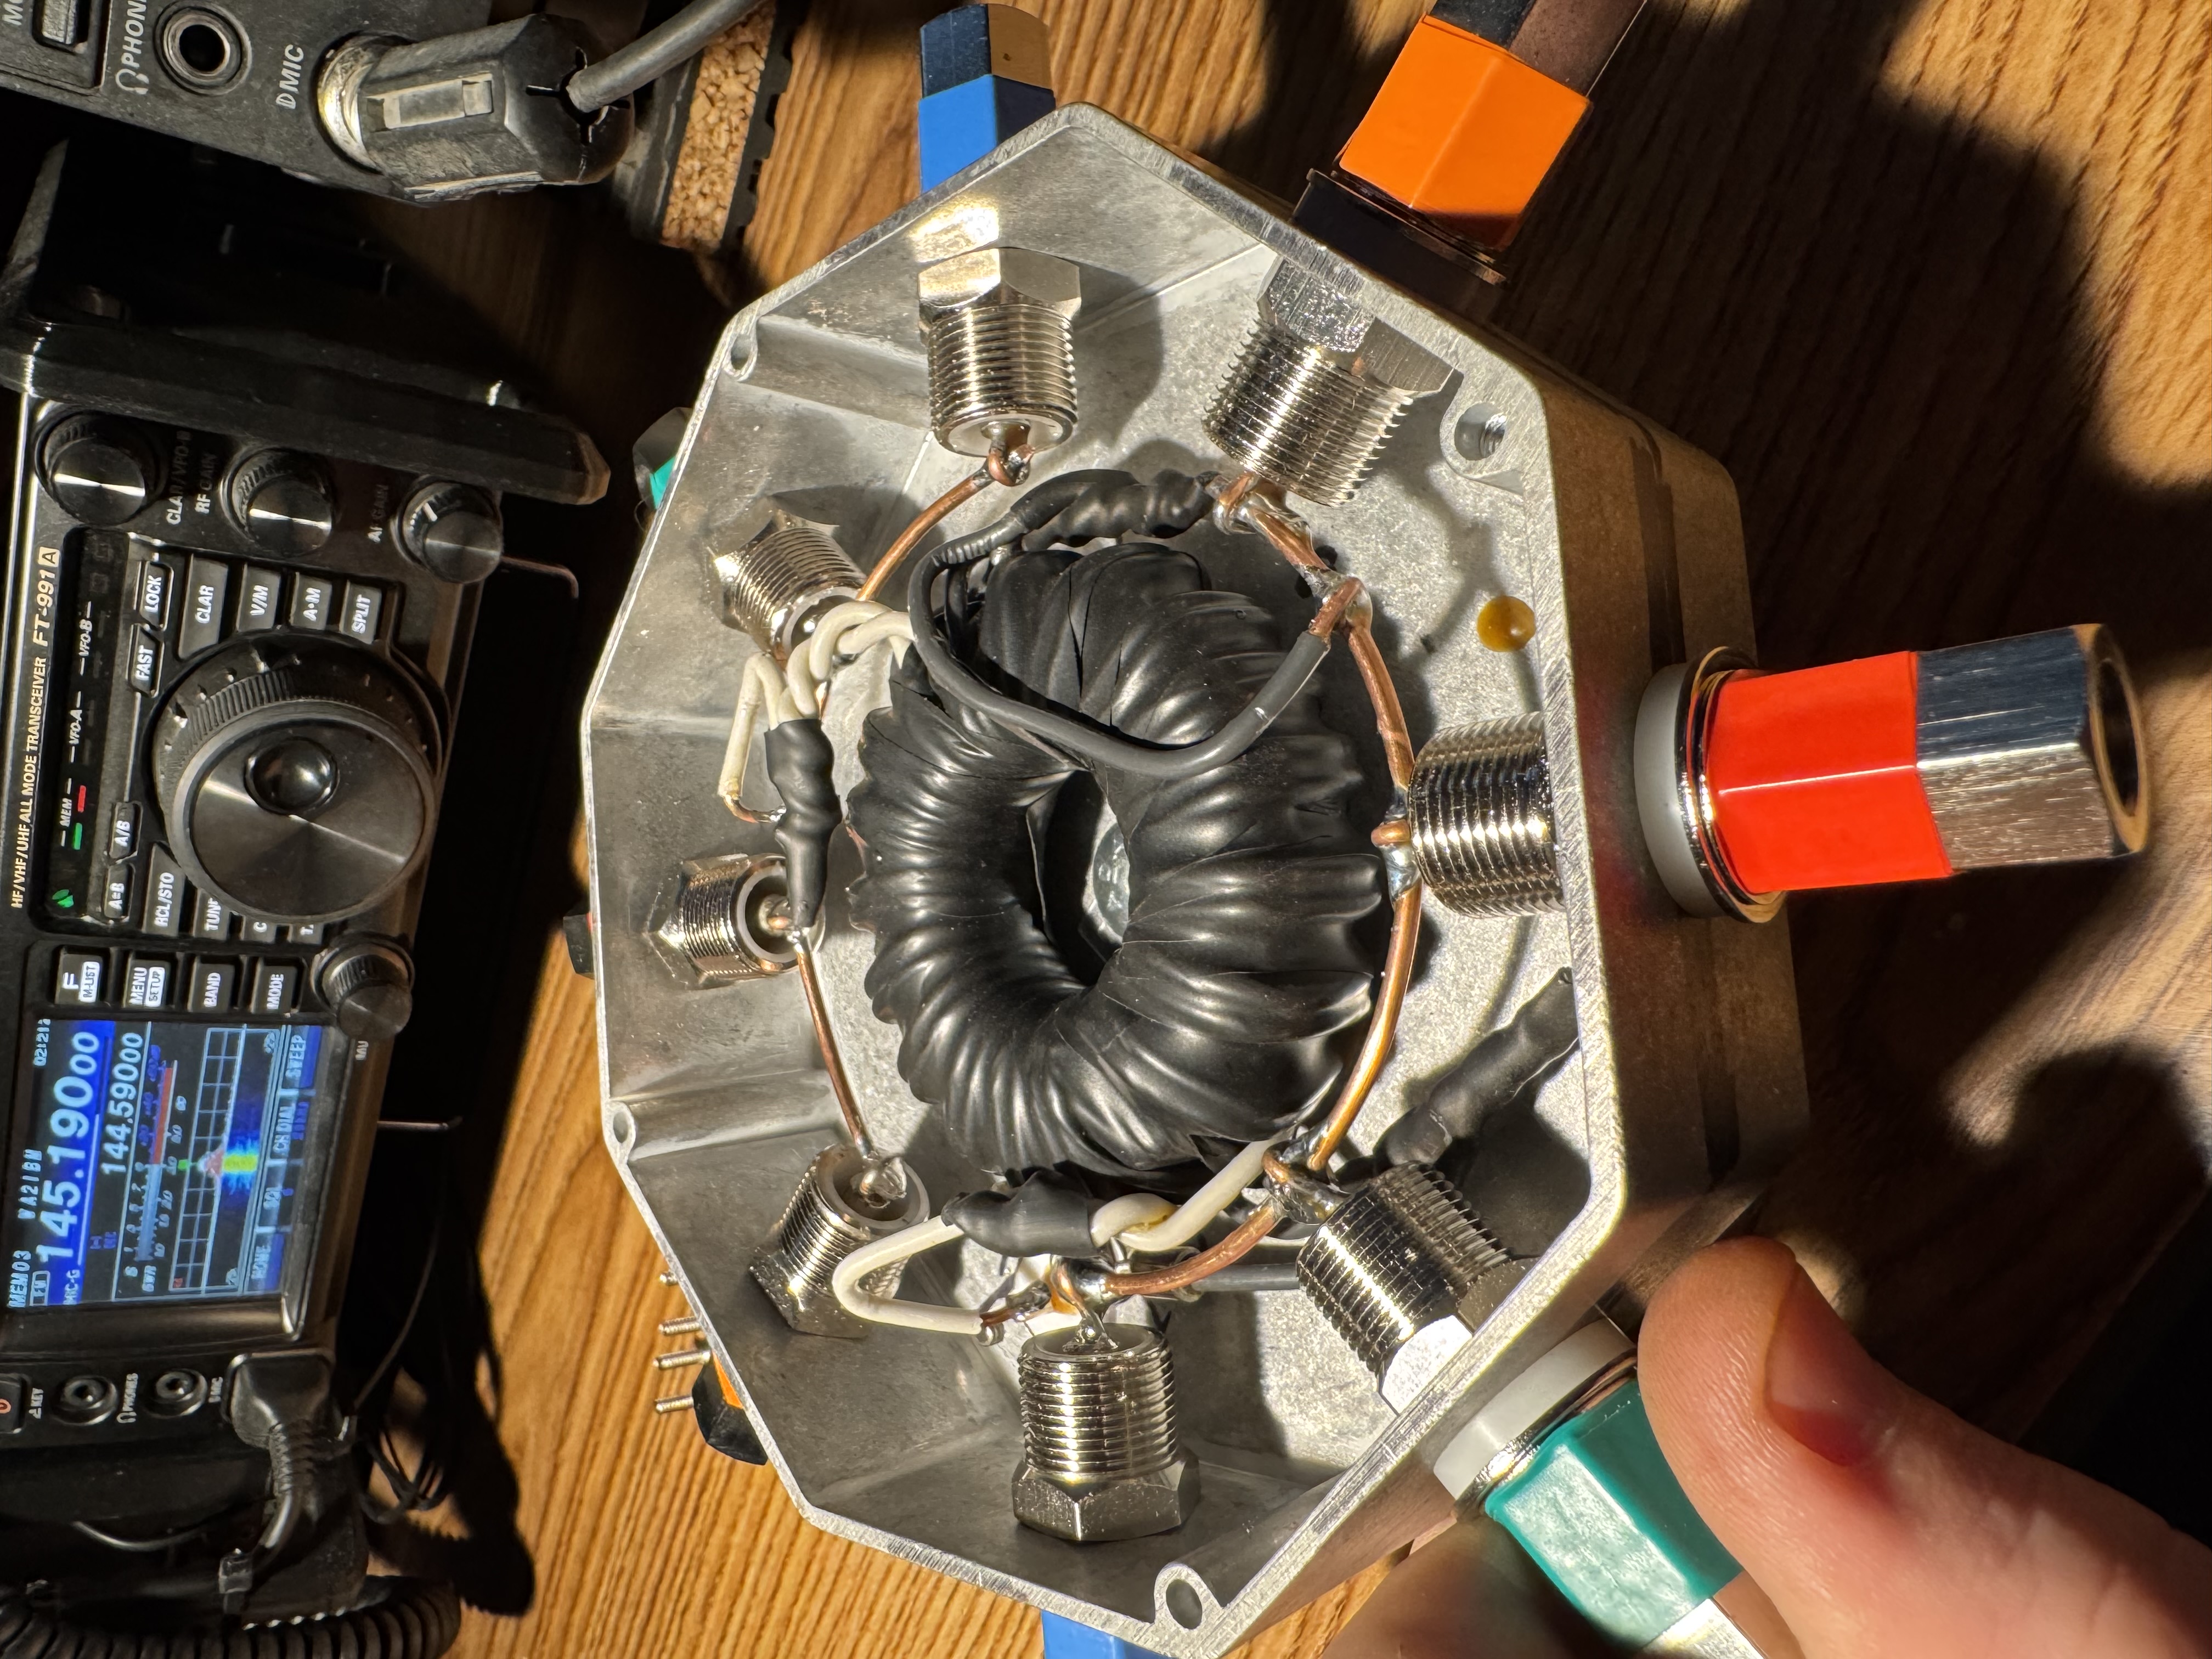
This closer view really shows the craftsmanship. Notice how neat those windings are? That’s not just for aesthetics - proper spacing and consistent winding tension matter for performance. The black ferrite disk provides mechanical support and keeps everything organized. This is the kind of attention to detail that separates working designs from great designs.
The Mechanical Housing: Form Follows Function
Here’s where it gets really interesting. Robert housed the entire assembly in a beautiful aluminum octagonal enclosure. Look at those SO-239 connectors arranged around the perimeter - eight positions for the dipole elements. The center conductor from each ham-stick connects through to the appropriate tap on the toroid.
You can see the copper wire connecting the toroid to the various mounting points. There’s flux visible on the workbench, so this is mid-assembly. The octagonal shape isn’t arbitrary - it provides equally-spaced connection points and distributes mechanical stress evenly. When you’re hanging this thing in the air with wires pulling from multiple directions, that matters.
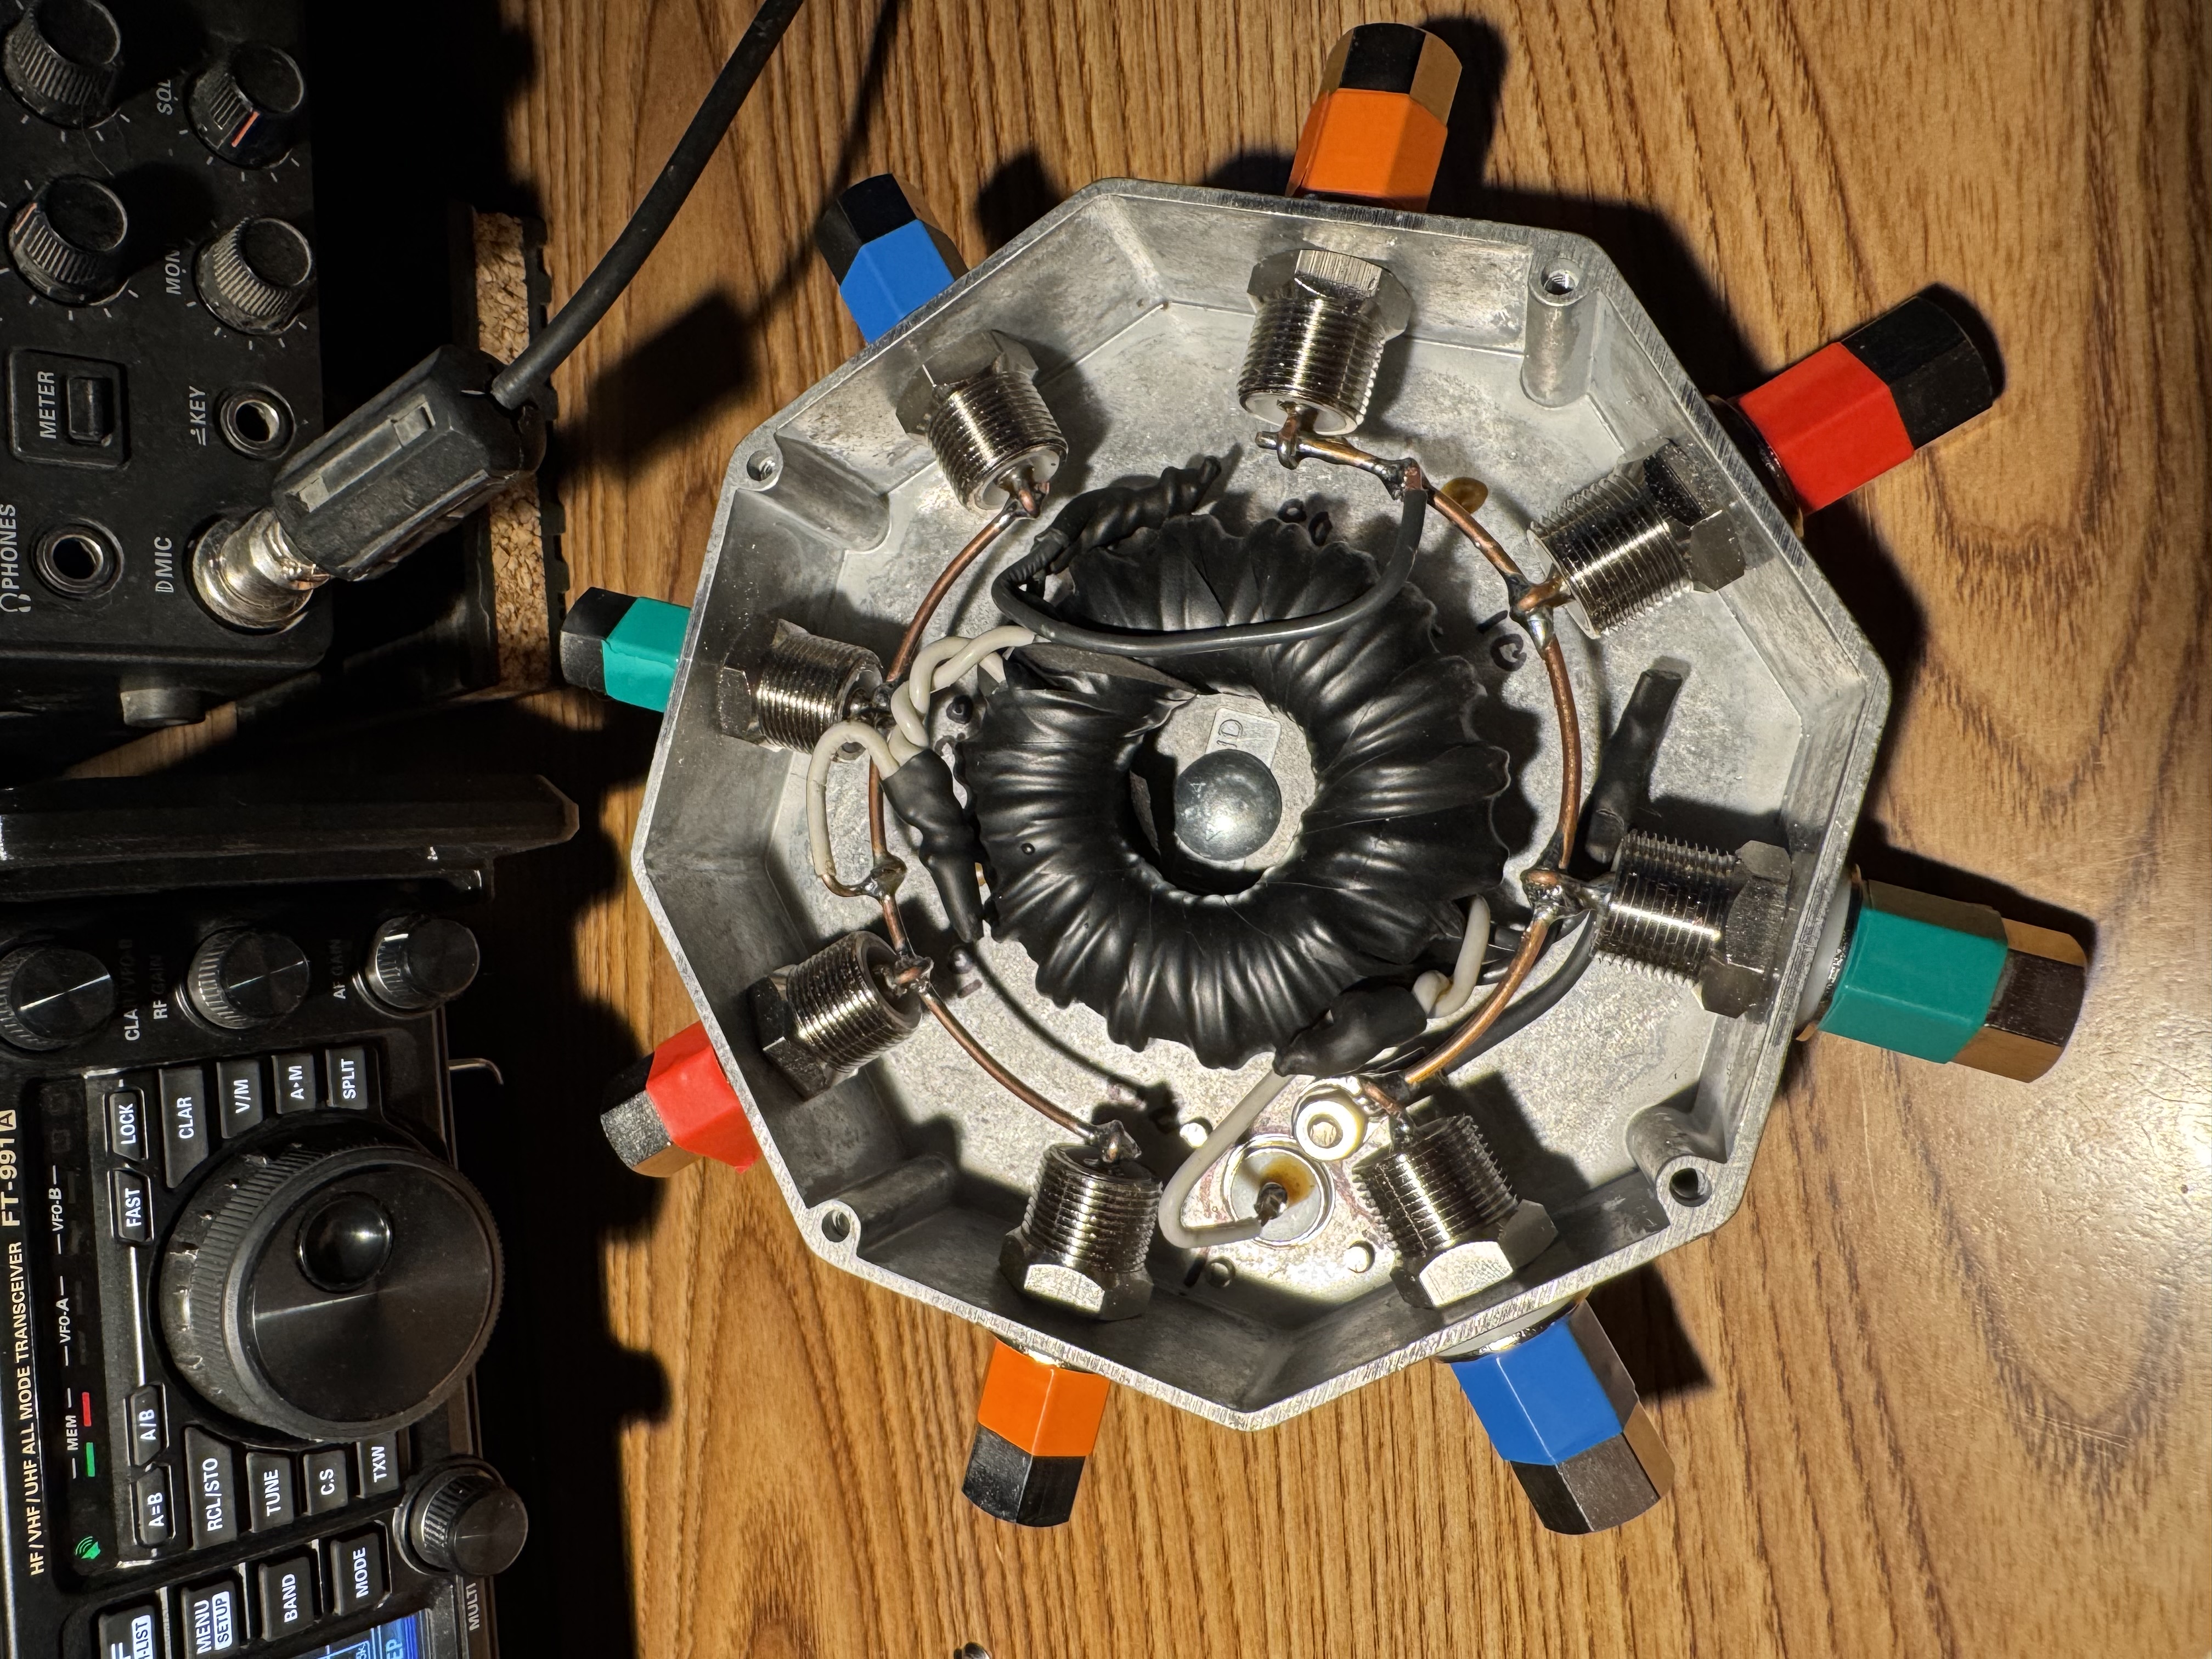
And here’s the finished product! Those colored caps on the connectors aren’t just for looks - they help identify which connectors go to which band elements. Red, orange, teal, blue - quick visual reference when you’re doing setup or maintenance. Notice it’s sitting next to an FT-991A - a fantastic all-mode, all-band transceiver. This antenna will let that radio work across HF with a single feed line.
The Real-World Installation
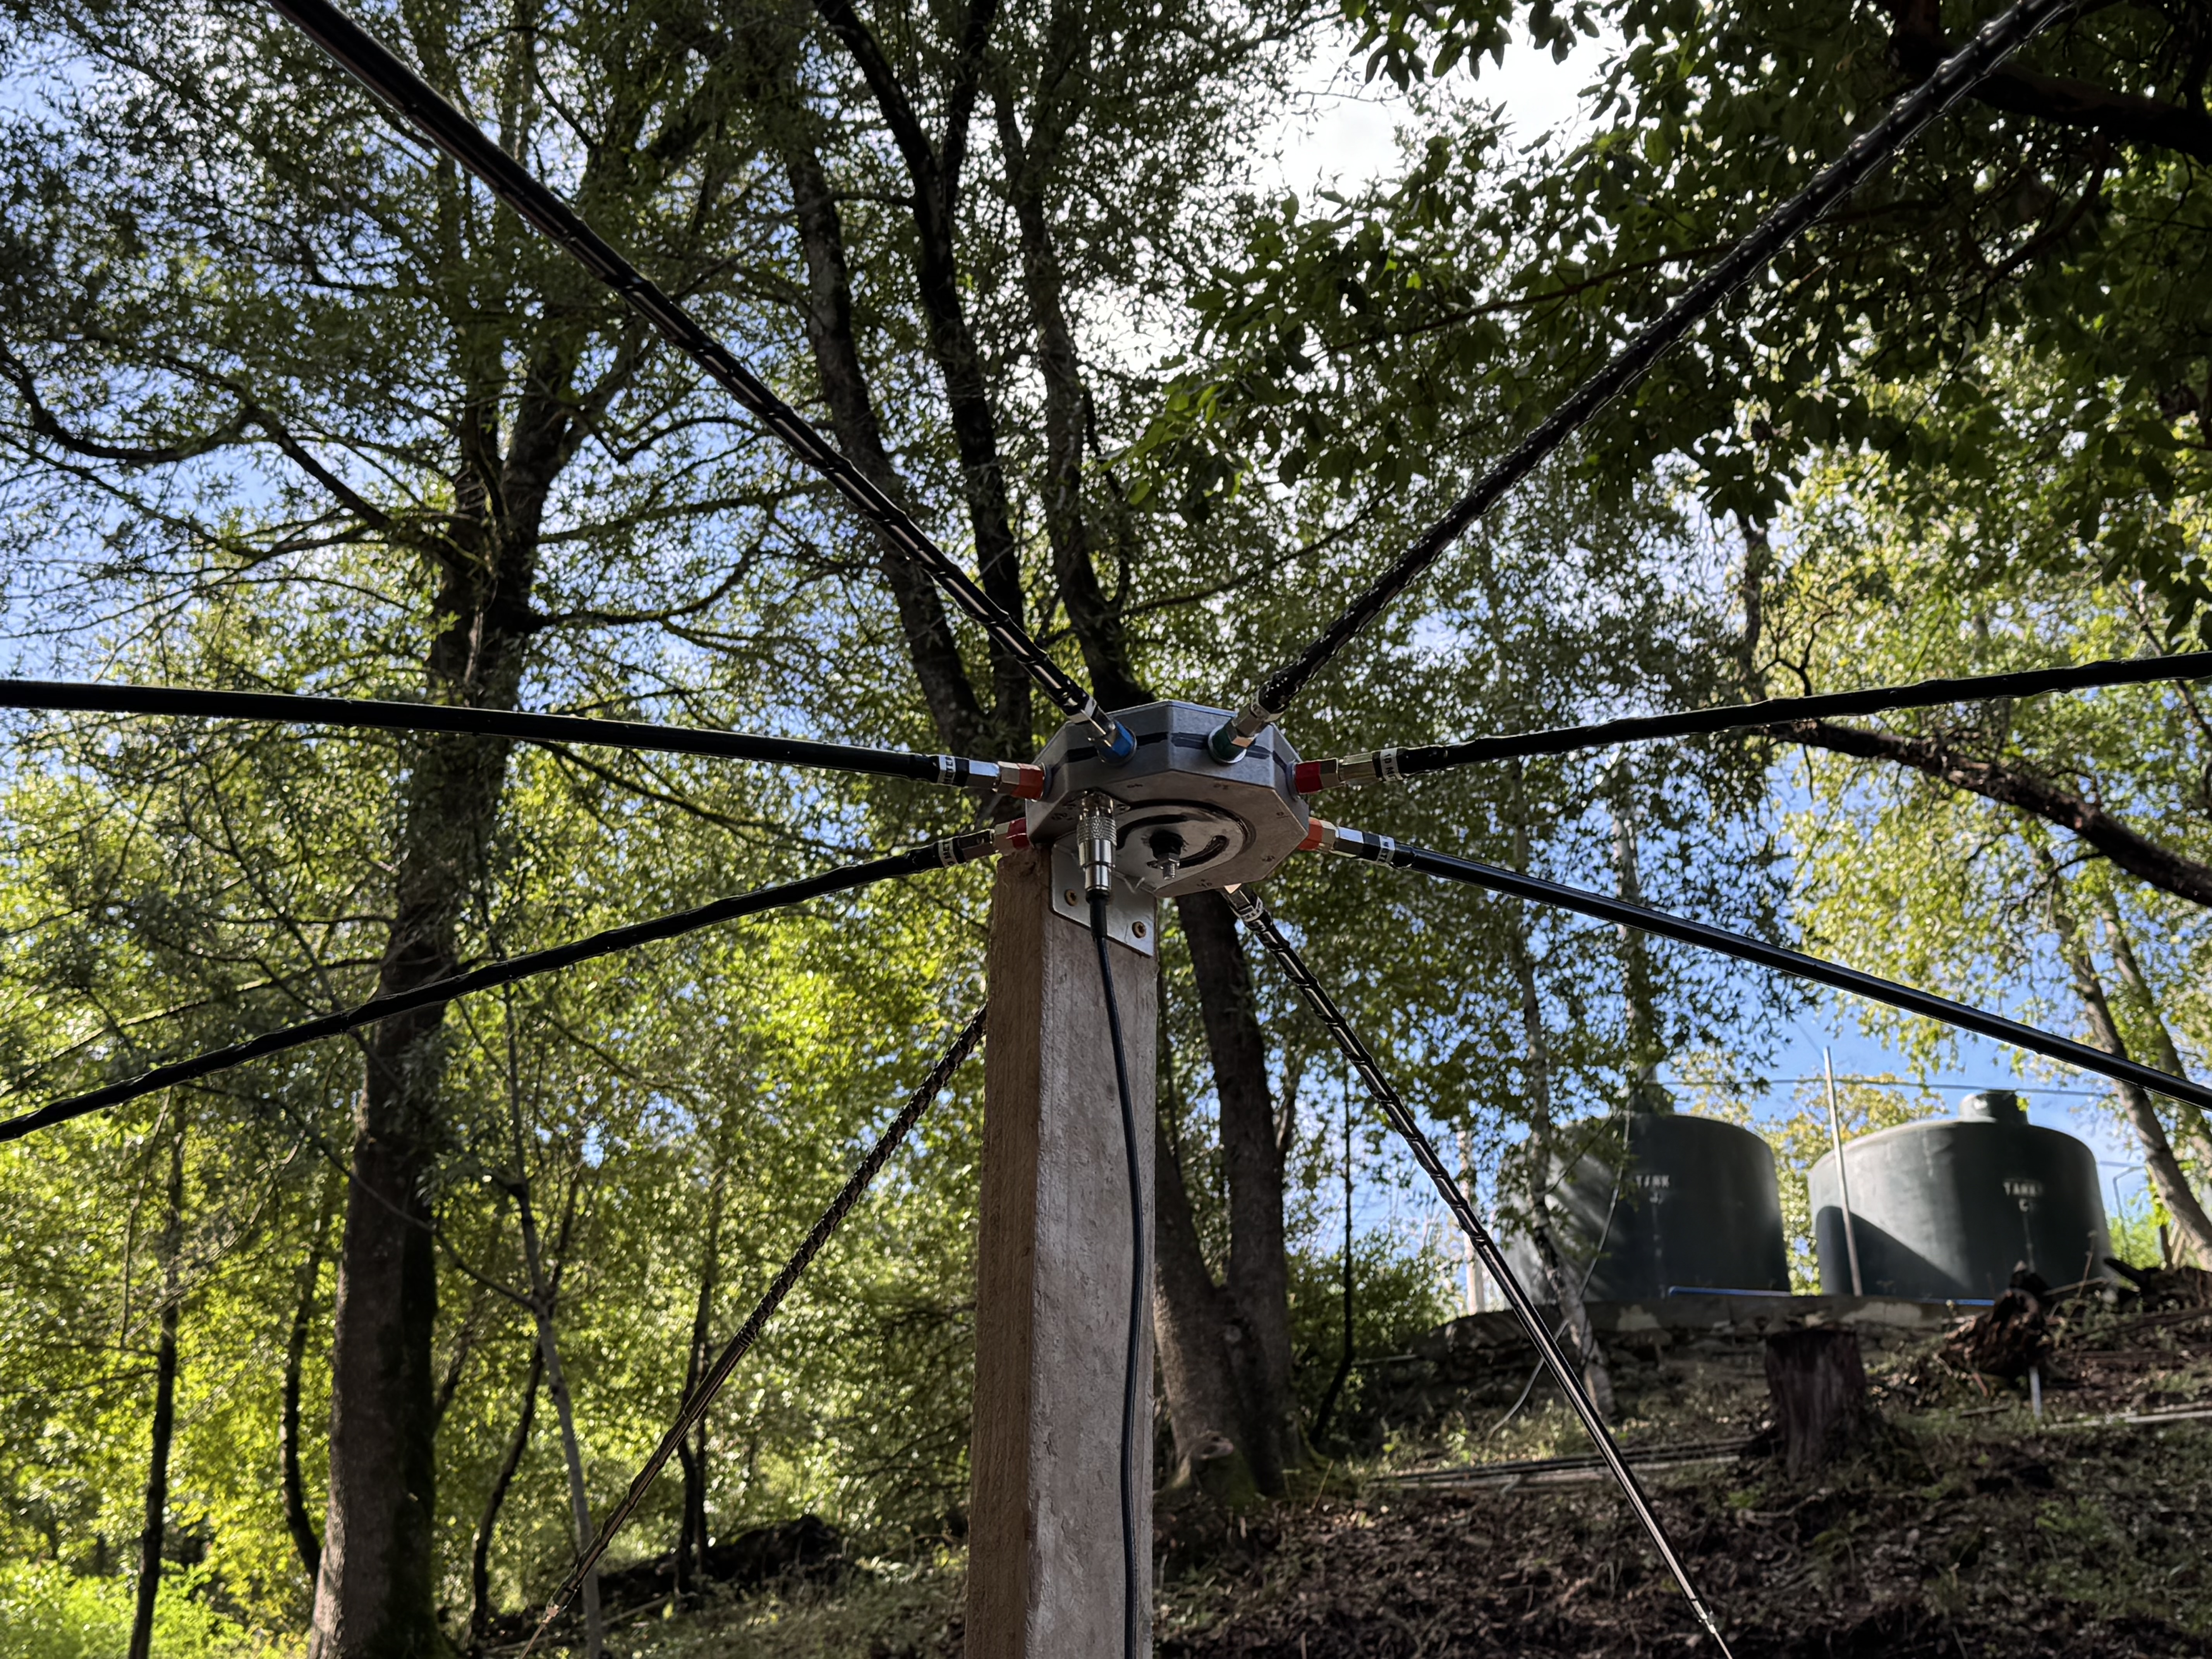
This is what it’s all about - the antenna actually up and working. Mounted on a sturdy wooden pole with the dipole elements radiating outward. You can see the radial wires extending in different directions, probably the different length elements for the various bands. The installation looks clean and professional.
Why This Design Works
What Robert built here demonstrates several engineering principles I really appreciate:
Modularity: The hub design means you can change out individual ham-stick elements without rebuilding the whole antenna. Need to experiment with different lengths on 40 meters? Just swap those two elements.
Scalability: Want to add or remove bands? Modify the toroid taps and swap elements. The basic architecture supports it.
Mechanical Soundness: That octagonal housing protects the critical electrical components while providing robust mounting points. It’ll handle wind, weather, and the mechanical stress of the wires.
Field-Serviceable: Everything is accessible. Connectors can be cleaned or replaced. The housing can be opened. Compare this to antennas where everything is potted in epoxy.
The Amateur Radio Spirit
This is what amateur radio is supposed to be about - understanding the principles, designing solutions, and building things that actually work. Robert didn’t just buy an antenna; he engineered one. He understood the electrical requirements, chose appropriate components, executed clean mechanical construction, and deployed a functional system.
The Mix 31 toroid choice shows he did his homework. The octagonal housing shows he thought about mechanical engineering. Those color-coded connectors show he thought about usability. And that outdoor installation photo shows it all came together.
Final Thoughts
Sometimes the best solutions aren’t the most complex ones. A well-chosen ferrite toroid, some careful winding, robust mechanical construction, and thoughtful design can outperform far more complicated systems. Robert’s four-band dipole is a testament to understanding the fundamentals and applying them well.
If you’re building antennas, think about what Robert did here. The principles are sound, the execution is clean, and the result is practical. That’s engineering I can get excited about.
73,
W6SAL
Thanks to Robert, N6MRO, for sharing these build photos. If you build something similar, We’d love to see your approach!